This is a step by step guide to reach the stage before you start setting up your first progress bar campaign.
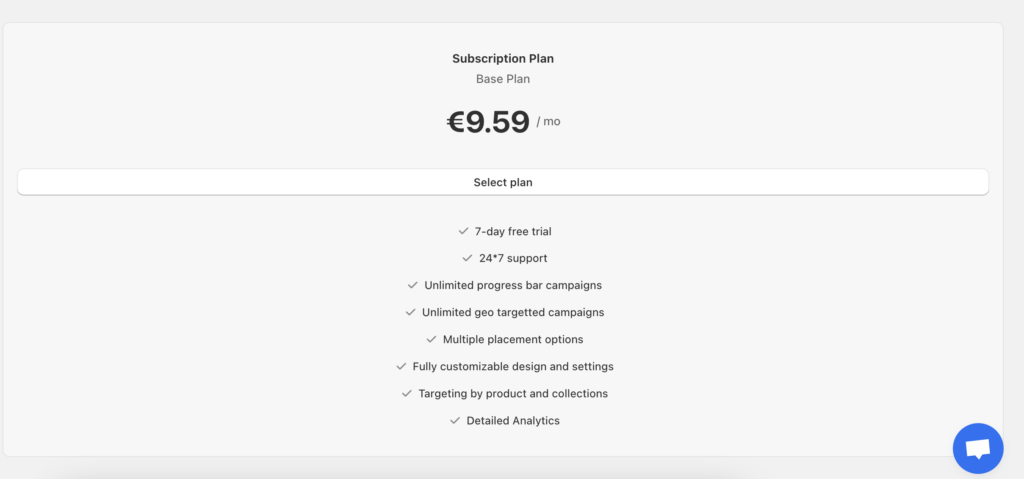
Step1: Activate your subscription. As soon as you install the Kai Progress bar Shopify App and open it up on the admin panel, you will see an option on top of page to activate your subscription. Please click on the ‘Select Plan‘ button.
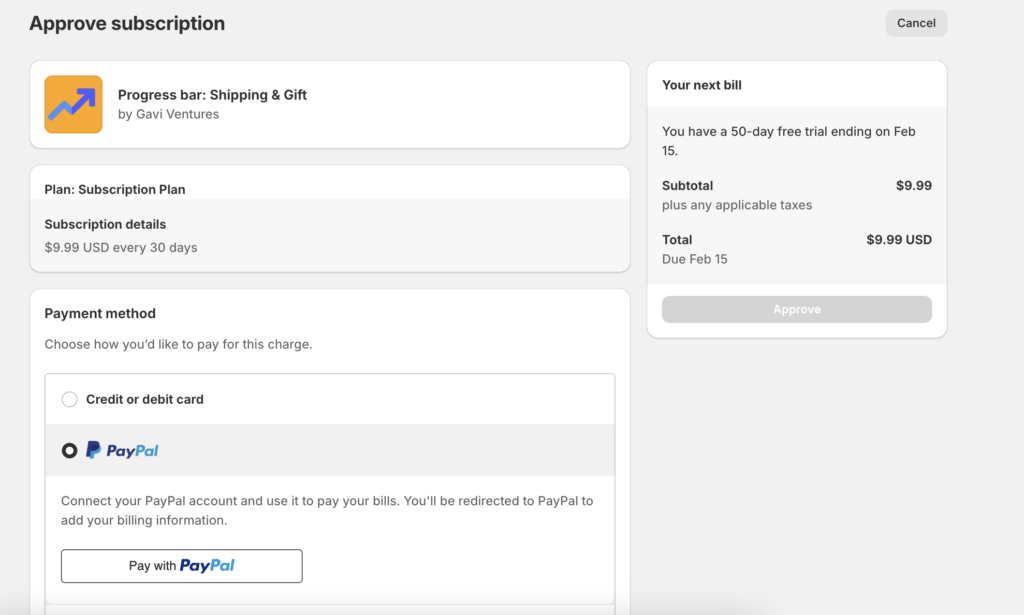
Step2: This will open up a payment approval page. This is a typical Shopify payment approval page that is presented for every App. You need to add you payment details and Approve it. You do not get charged immediately since our App has a 7 day free trial period.
Step3: Once the payment is approved you are back on the App and you can see our ‘Setup Guide‘ with 2 steps. Before you jump into creating a campaign, you need to ‘Enable the App extension‘ which means: go to the theme customization page, switch on the Progress bar App and Save changes. This is a mandatory requirement from Shopify to enable any 3rd party app to be used in the web store.

Step4: Once the App extension is enabled, you are ready to create your first campaign. Click on ‘Create Campaign‘.
Details on how to create your first campaign are in the next post.
Leave a Reply